....can be very scary.
Whitney from Rookie Cookie hired me to do some alterations on two wrap dresses in different colors that she just loves. So of course that puts major pressure on me to get this right.
The major problem with these dresses is, or with all clothing that isn't custom made, it is only made to fit a B-cup. All you well-endowed ladies out there know what i'm talking about: You buy a dress that fits your 36DD size, making it too big in the waist and shoulders. It is a plight many women have to deal with, and Whitney and I are two of those women.
Whitney's dresses needed to be altered in the shoulders. The wrap style made her neckline gap open and the shoulder seam didn't rest on top of the shoulder, but drooped a little down the arm. No good. There is nothing I hate more than ill-fitting shoulders and a gaping neck. So uncomfortable and can be unflattering.
The first thing I needed to do was remove the sleeves and shorten them. The sleeves had these adorable cuffs on the wrists, but Whitney felt more comfortable with a shorter, elbow-length sleeve (another similarity between us). This cut has to be the scariest cut EVER. a shortened sleeve has to be straight, on grain, and of course, not too short (you can always take away more later). I kept the cuff and then gathered the new seam since it was larger than the circumference of the wrist seam (obviously).
I then made the big leap, and used my brand new serger that my mom bought for me last week when I was visiting in San Diego. It was scary, to say the least. But man, this serger can sew and sew fast! I've never felt more "industry" than I did sewing on the serger. I felt powerful, even with that little blade that cuts the seam allowance as you sew (like I said, once you cut you can't put it back).
A finished sleeve. I love buttons on a short sleeve!
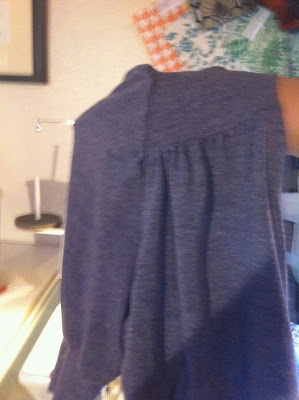
Next I needed to alter the extended shoulder yoke on the bodice of the dress. The yoke seam was way to low and out of proportion on Whitney's body. I needed to take up the bodice part of the dress and suck out the extra fabric.
The horizontal pins on the right side of the pic are where I needed to lower the seam.
Below is a detached seam and then a basted gathering stitch to make new gathers.
Once the gathering was enough to fit into the shoulder yoke, I replaced the twill tape (which prevents the seam from stretching over time) and surged it all together again. Scary.
I then sewed the seam back into the arm scye, which I cut out a lot of fabric so her sleeve sat right on top of her shoulder. and, TA DA! A well fitting bodice!
I now have the other sleeve to do, and then the sleeves on the other dress as well. I have a lot of work to do.
And what the hells-bells am I supposed to do with all this new fabric? Oh, right. Start a clothing line.


Sign me up for whatever you're planning to make out of those delicious polka dots and that stretch denim.
ReplyDeleteI'm really looking forward to the debut of your clothing line. :)
Whit's so excited about her dresses. I felt pity for you when she told me that you would be altering those dresses, 'cause you're right--she LOVES them. Lotsa pressure. But she says you're fantastic and the try-on session today was a successful thrill.
ReplyDelete